This tutorial will teach you how to run nextstrain/nextflu on a download from GISAID and visualize the result on your computer.
At first, you'll have to select a sensible number of sequences all of the same type/lineage! This is critical for successful analysis and only seasonal influenza virus lineages are supported at the moment.
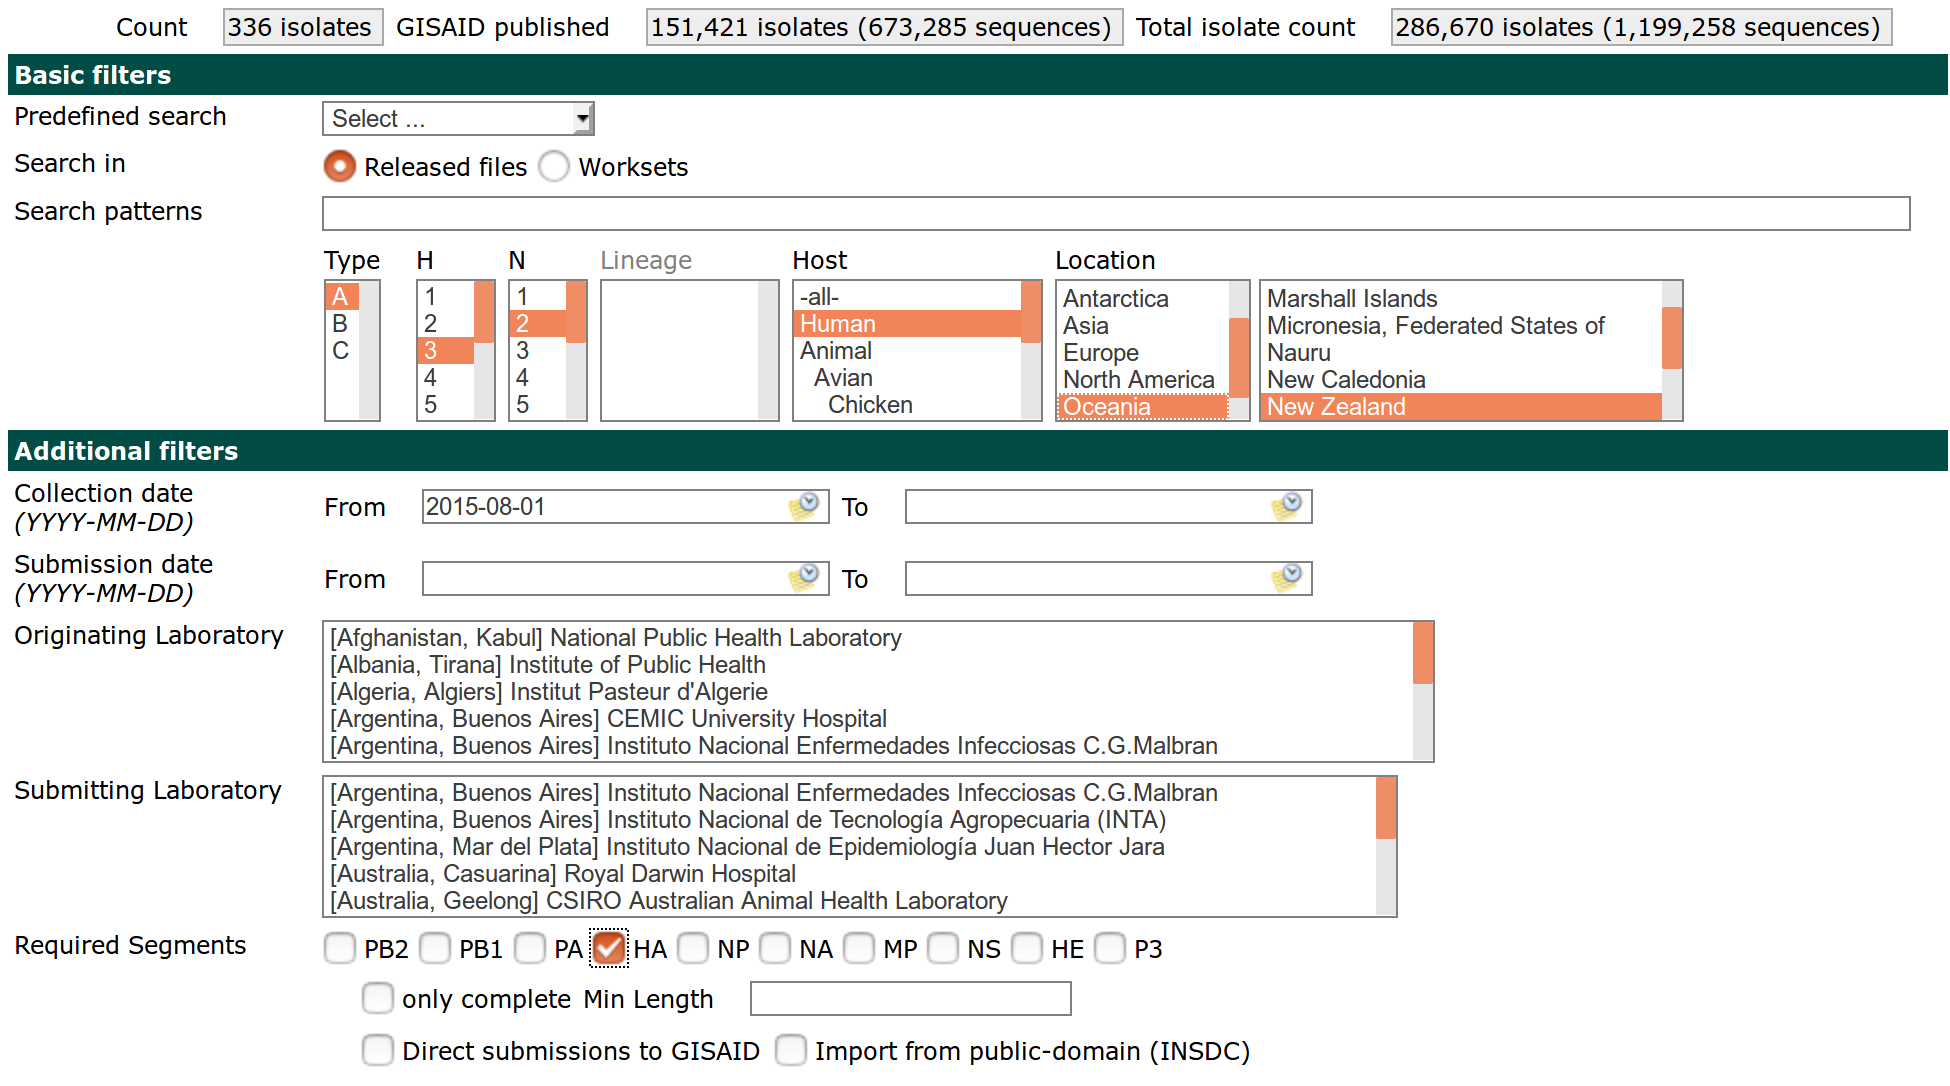
Once you have your collection of isolates that you want to analyze, you need to download the sequences. When downloading, it is crucial that you download one segment at a time, that the fields in the FASTA have the indicated order, and that you choose YYYY-MM-DD as date format. Your download screen should look somewhat like this.
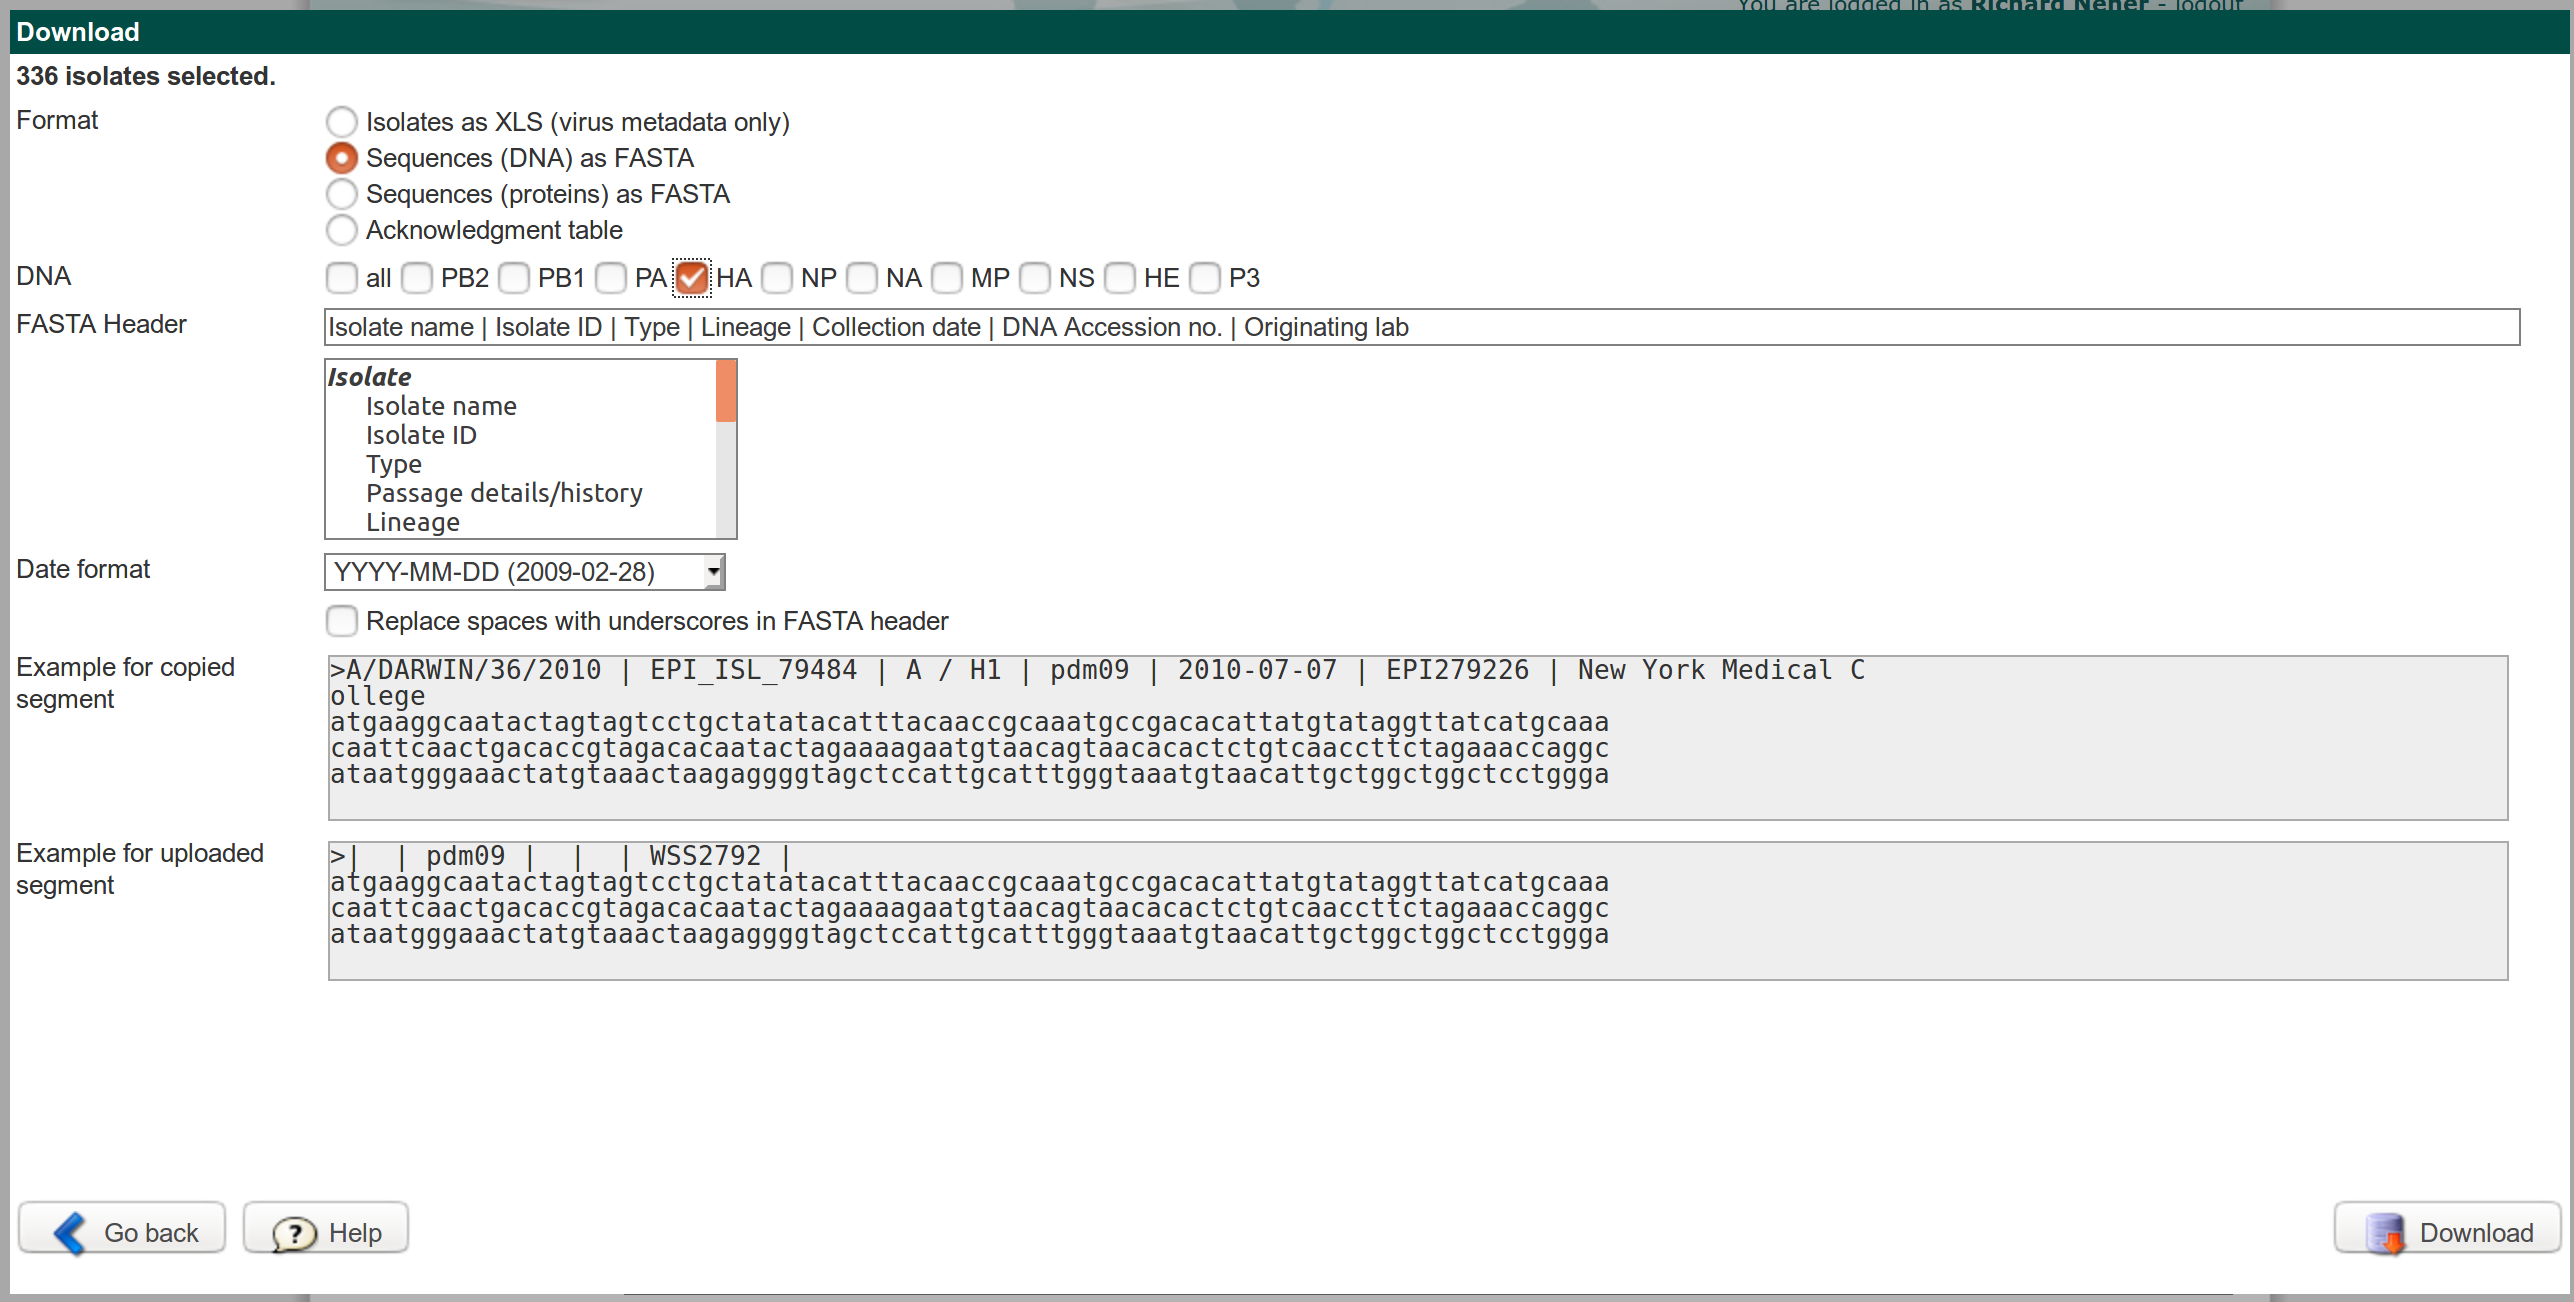
If you mess up the FASTA header, nextflu won't know what is a date, what is an accession number, or the name of the isolate.
The next important step is that you put the file in the correct place and name it such that nextstrain knows what lineage and segment to expect.
Your sequence download has to be placed in the directory data and named as follows
data/h3n2_ha.fasta
or more generally
data/LINEAGE_SEGMENT.fasta
where the allowed values for LINEAGE are h3n2, h1n1pdm, vic, and yam and for SEGMENT ha, na, pb1, pb2, pa, ns, np, and ma.
Note that these are case sensitive!
Once you have your data in the right place, you are ready to run nextstrain. First, activate the nextstrain environment using
conda activate nextstrain
(unless it is already activated). Then run the analysis by typing
snakemake auspice/h3n2_ha_tree.json
This will tell the workflow manager snakemake to produce the file auspice/h3n2_ha_tree.json which will contain the analysis that can be visualized in your web-browser.
You don't need to worry about the details of this now.
But if you want to change the analysis or the file naming scheme, you will need to change the pipeline defined in the Snakefile.
To view your analysis results, type
auspice view
and open http://localhost:4000 in your browser.
You can find more information on how to customize your workflow in this Tutorial or on the documentation pages of nextstrain.
Annotated trees
It is often useful to annotate branches in a tree with the mutations that likely occurred on this branch. This is straightforwardly done using treetime and the nextstrain output:
treetime --aln results/aligned_h1n1pdm_ha.fasta --tree results/tree-raw_h1n1pdm_ha.nwk --outdir myMutationTree
will create a directory myMutationTree containing a tree file in nexus format with mutations assigned to branches. This tree can be viewed in common tree viewers such as figtree.